
 Last Sunday as a wonderful day of rest, uff! How I love Sundays. :)
I got to meet with several friends to create using our Paper Pumpkin kits and I am so glad we did!
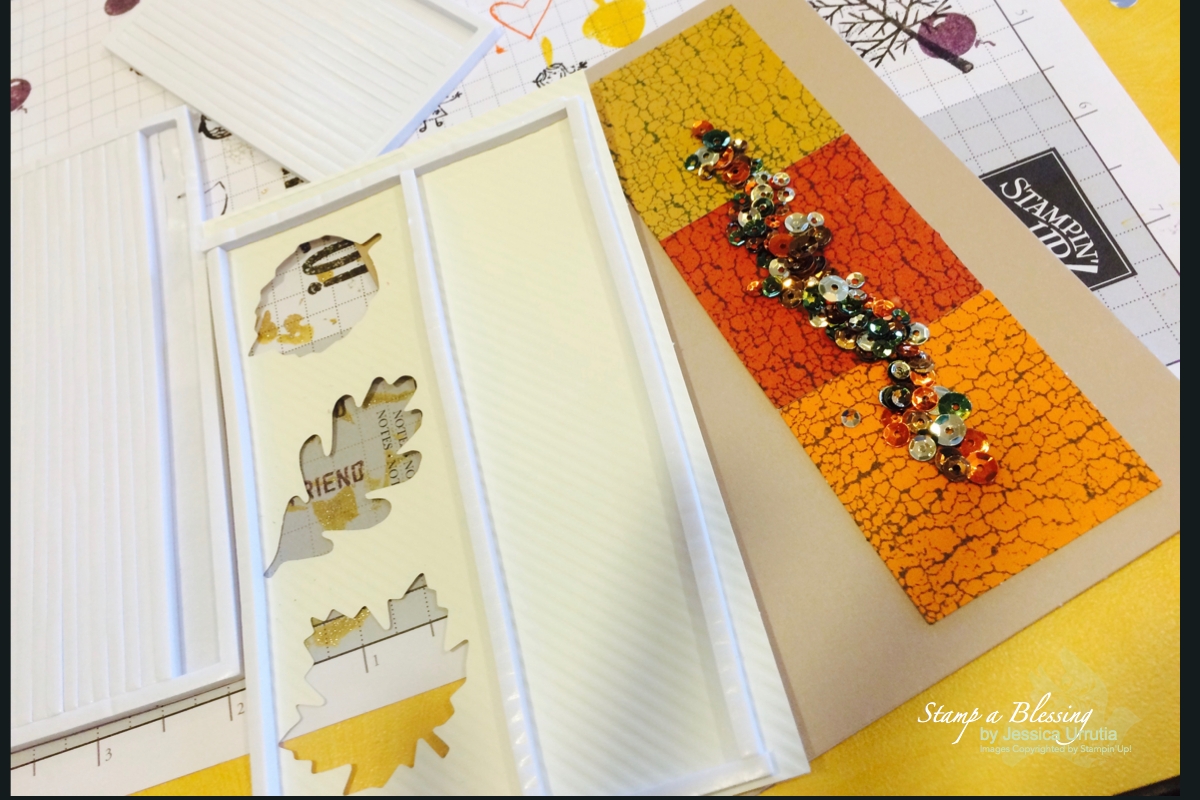
Here a few pictures of our meeting and tips on our new kit too.
As you can see this kit is absolutely beautiful. I got to make some of the cards, but I chat too much so I have NOT finished them, hehe!
Season of Gratitude TIPS
As I was making this kit I discover several things that made putting it together easier.
FIRST, as usual I try to stamp all before I assemble. I made ONE card first to get the hang of it and then I proceeded to do all my stamping. I used garden Green Ink Pad as my ink (cause I love it lately and found is more vibrant than Chocolate Chip). :)


THIRD, as usual I used my paper piercer to pick the glue dots and place where I wanted them to go. It makes it WAY easier than using my nails.

So recap, SHORT, LONG, SHORT, LONG, LONG. :)


Don't forget to send me your pictures with your kits finished! You will enter to win a box full of goodies!


Hope this encourages you to get your paper pumpkin kit out and start crafting some blessings!
I LOVE meeting with my ladies and crafting them together. I believe Together is better!
Connecting through media and phone is nice, but there is a special touch when we ACTUALLY get together and stamp. Thanks to my sweet ladies that took the time to stamp with me this last weekend. I totally enjoy this time!
Creative Blessings,
Jessica Urrutia
If you still do not have your Paper Pumpkin, check what is all about on my PP website here!

No comments:
Post a Comment
DID YOU LIKE THIS POST? Leave me your feedback below! I would LOVE to hear from you!
Jessica