 Many Blessings!!!
 |
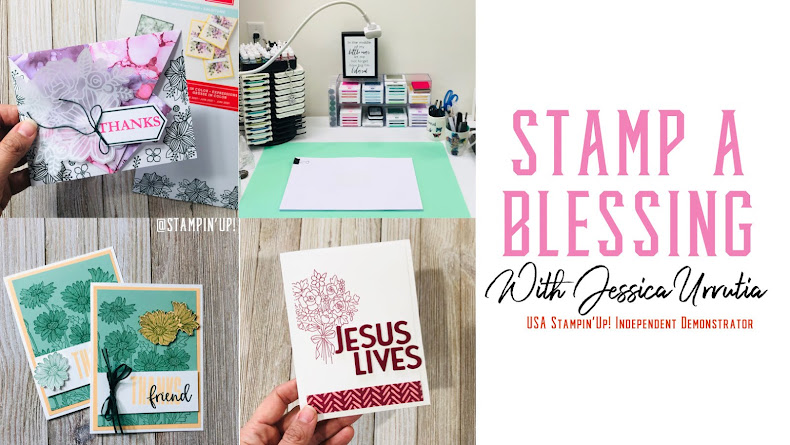 Many Blessings!!!
 |
 |
| Just getting creative with my wheel. I inked it well on my Old Olive Stamp pad, then "erased" some of the wording with a wipie -thou you could use a Q-tip or your blender pen- and inked "Gratitude can transform common days" with a Tangerine Tango marker. I punched three circle from the Itty Bitty Punch and top it with the Itty Bitty buttons. Great match! Stamp sets used: Awash with Flowers, Bright Blessings Jumbo Wheel |
 |
| This morning I wanted to bring something for the kids to share. So I made some "Sour Cream Containers" . Instructions down below. They are easy to make and hold a good amount of treats. Stamp sets used: Fox & Friends, Cute by the inch (retired). Love the mix of the Island Indigo and Pumpkin Pie colors. Dsp is Non-SU but just had to put it all together with my new favorite hue of blue. Fun!! Oh, 5 chocolate kisses inside and voala!! |
 |
| Instructions: 1. Cut your dsp at 4 1/4" x 5 1/2" 2. Place Sticky Strip adhesive on two sides, the long and the short. 3. Take the two short edges and adhere together. 4. Then put together one of the short ends (the one with adhesive) 5. Insert each end into your crimper and turn handle 2-3 times only, remove and do the same on the other side. 6. Make two holes on the end without Sticky Strip 7. Place your goodies inside 8. Place your ribbon from behind thru one hole and then from the front 9. Now trade opposite side of ribbon and thread thru the holes from back to front. 10. I stamped my images on Whisper White CS 11. Punch images with your 1 1/4" circle punch 12. Punch a coordinating color CS with your 1 3/8" circle punch 13. Punch a Scallop circle on Whisper White. 13.Adhere together. I placed a Stampin Dimensional between the Colored CS and the scallop circle and on the back of the scallop circle. Do similar with your Square punches ad Scallop Square punches. Love it!! |
